-
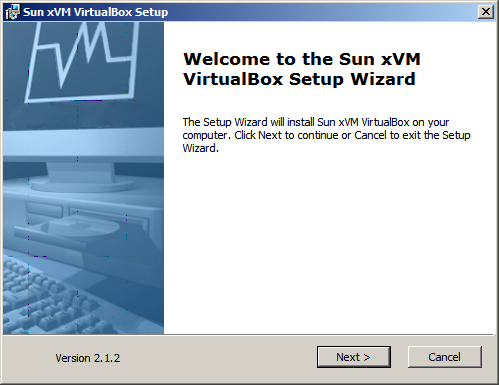
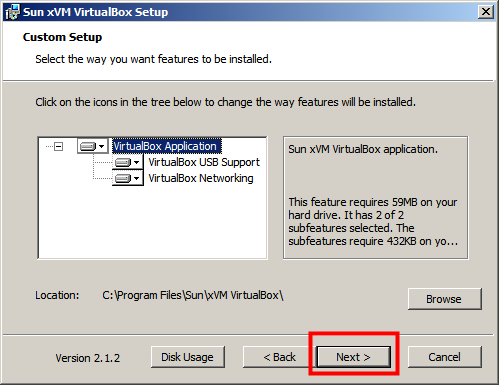
Double click to start installing VirtualBox, and you can just use the default settings
by Lin Gan
Department of Computer Science
Illinois Institute of Technology
This document demonstrates the process of running Ubuntu 8.10 as a guest system on top of windows by using VirtualBox.
To prepare, you need to download the following files:
1. -The VirtualBox, latest version is 2.1.2. Download the version suits your system. (x86/amd64/mac)
http://www.VirtualBox.org/wiki/Downloads
2. -Ubuntu, latest version 8.10, also choose based on your system (32bit/64bit)
http://www.ubuntu.com/getubuntu/download
To run Ubuntu, you need to perform the following steps:
Step 1: Install VirtualBox on your windows system.
Step 2: Create your Ubuntu system profile, mount the ubuntu install CD (.iso file)
Step 3: Install Ubuntu8.10
Step 4: Install virtualbox guestadditions to change screen resolution
Step 5: Install software package through Synaptic Package Manager
Stpe1: Install VirtualBox
|
|
|
|
|
|
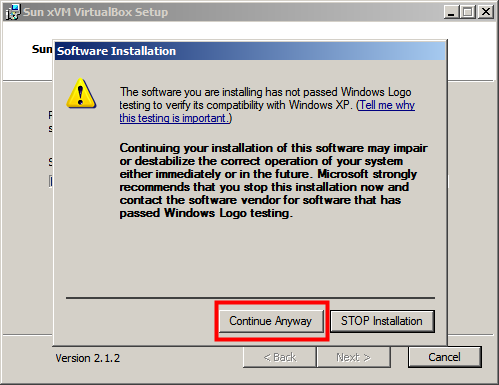
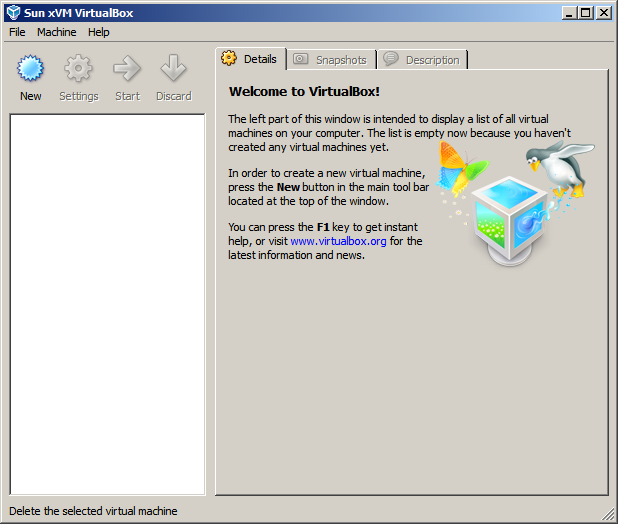
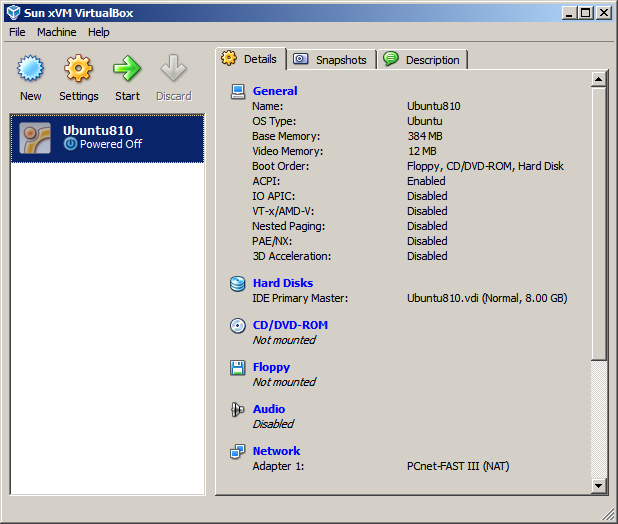
1.2 There will be several warning, just click Continue Anyway to continue. Then it brings you the window of VirtualBox |
Stpe2: Prepare for install Ubuntu 8.10
|
|
|
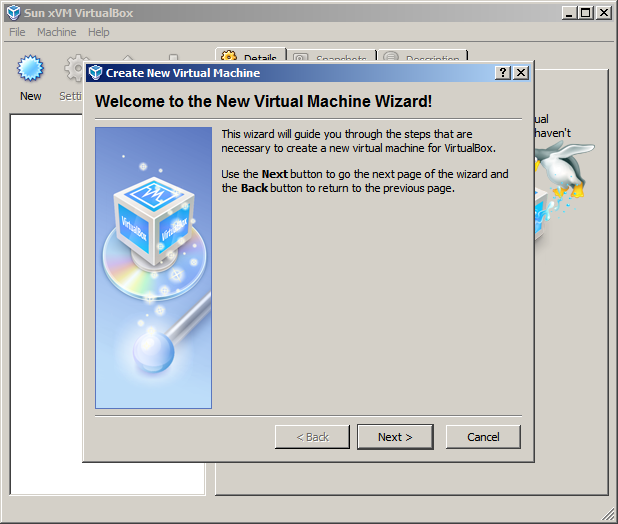
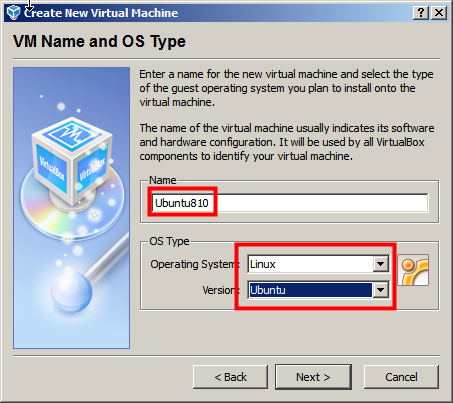
2.1 Create New to start the Wizard, fill a name for the System, and Select Linux and Ubuntu as shown above
|
|
|
|
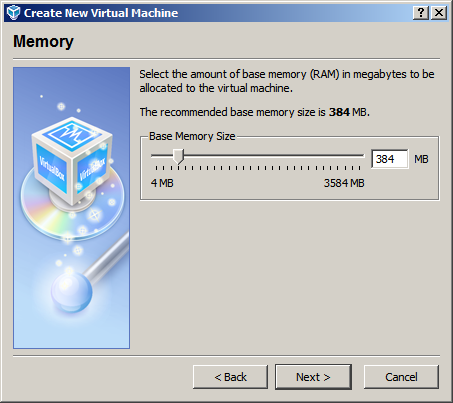
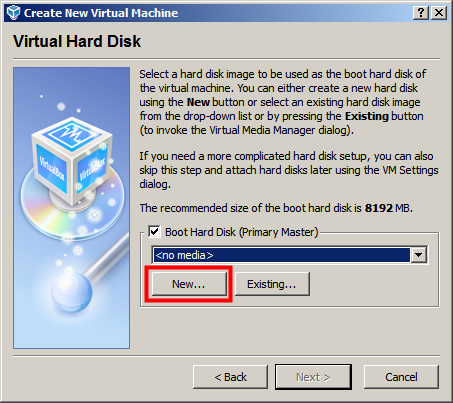
2.2 Set the memory used for your Ubuntu system based on your physical memory in your machine. In the Next step, click New… to create a hard disk image used by Ubuntu, check the Boot Hard Disk(Primary Master)
|
|
|
|
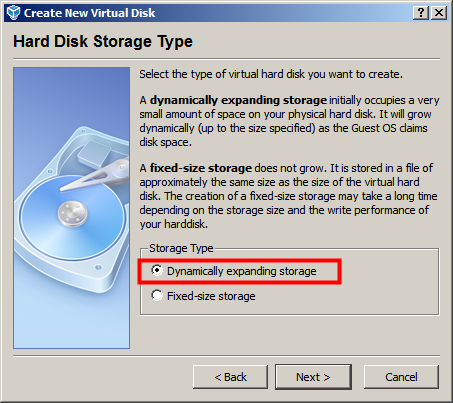
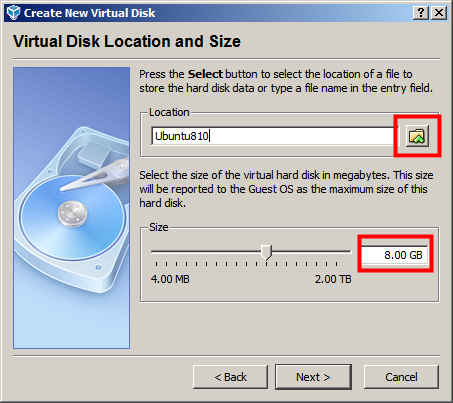
2.3 Choose a type to allocate the hard disk image, Dynamically expanding storage is recommended, select a size based on your available free disk, you can browse to choose the location for the harddisk image.
|
|
|
|
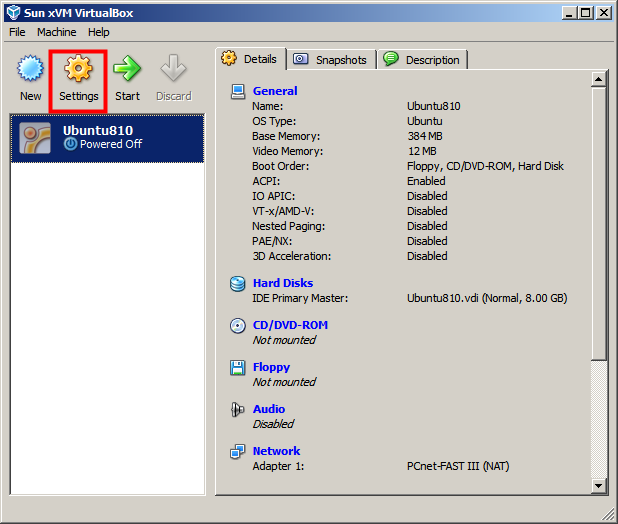
2.4 After your System profile is added, click Setting to bring the Settings window
|
|
|
|
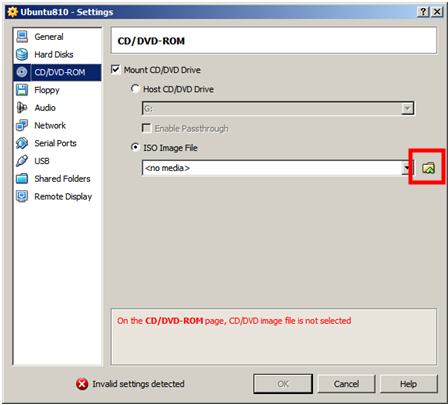
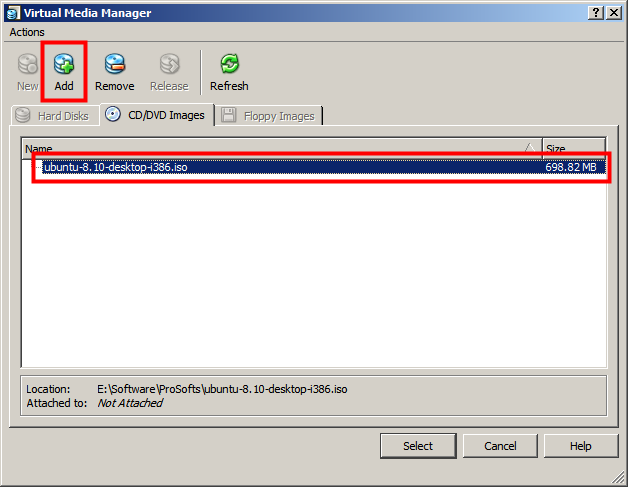
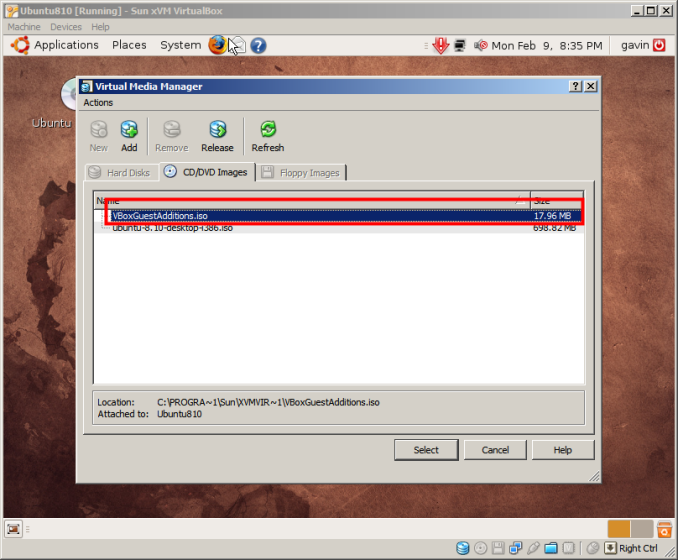
2.5 Select CD/DVD-ROM from left panel, and then click the ISO image file, In the popup window, use Add to browse the Ubuntu8.10 CD you download it online
|
|
|
|
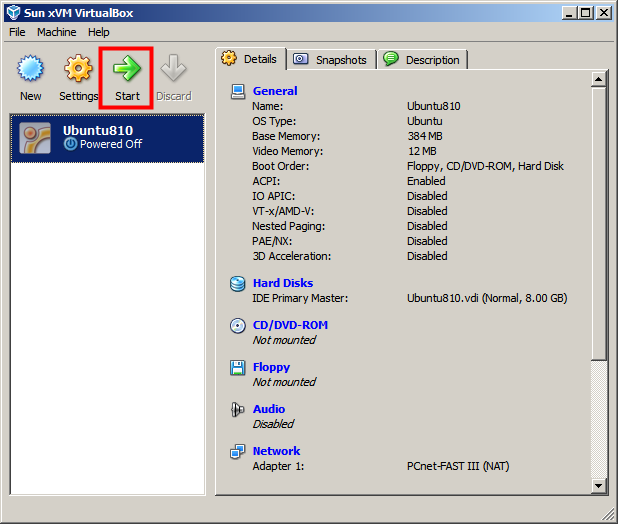
2.6 Then click Start, it will bring the start of Ubuntu
|
Stpe3: Install Ubuntu 8.10
|
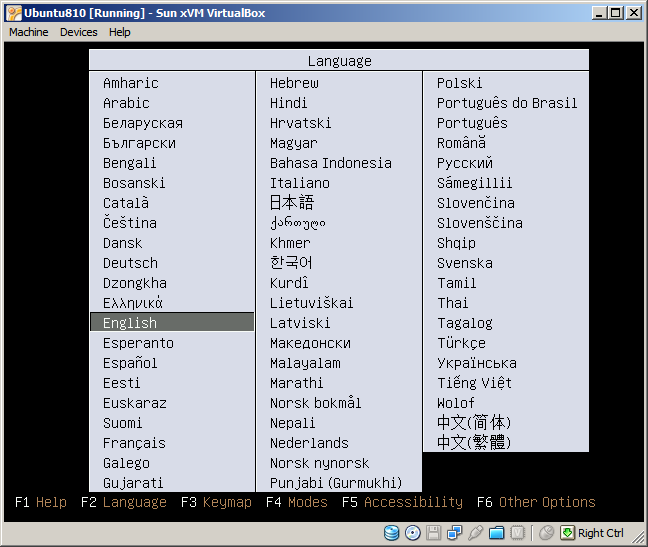
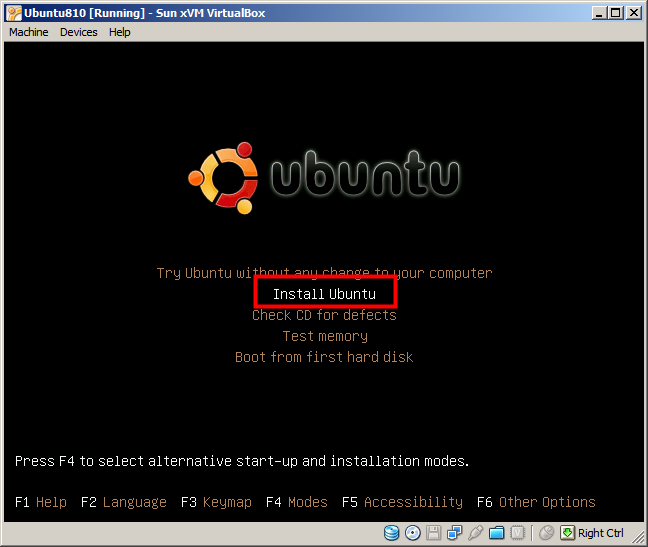
3.1 Select your language, and then choose Install Ubuntu from the menu
|
|
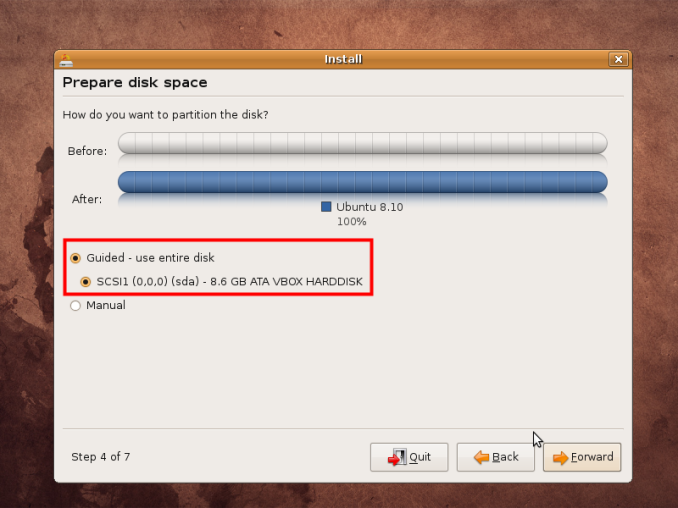
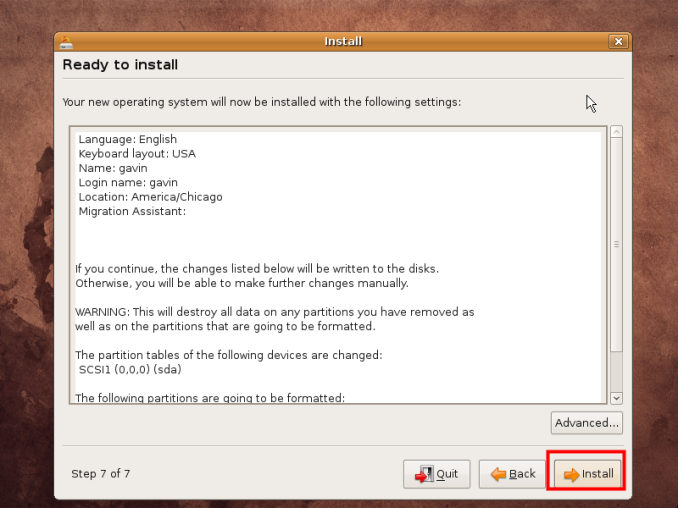
3.2 You will be asked for several settings such as language, keyboard layout, timezone, name and password. The only thing to be noted is the partition of the harddisk. You are suggested to choose Guided method, if you are experienced user or with special interest, you can choose manual to partition your hard disk. Then you can click Install to start the installation. |
|
NOTE: In anytime you can press RIGHT CTRL to jump out the virtual system to your windows system. |
Stpe4: Install Guest Additions to set screen resolution.
|
|
|
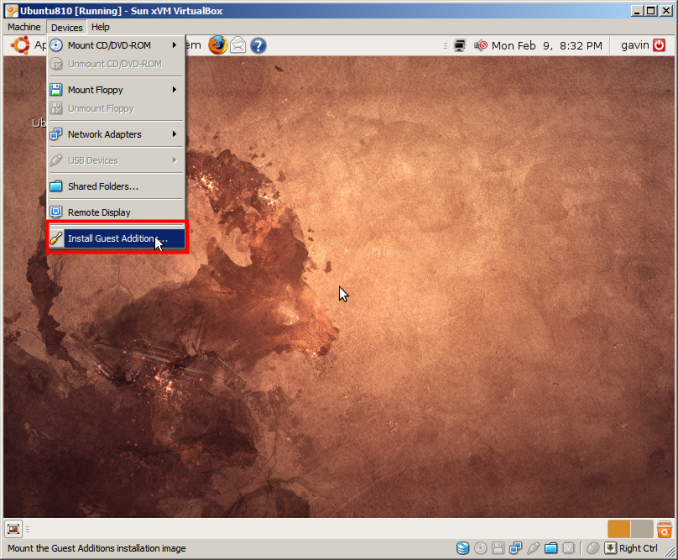
4.1 From the menu unmount the Ubuntu install CD, Then you will be prompted to login.
One problem you may meet is that the resolution of your Ubuntu system is not correct for your system. You need to install the guest additions from the menu. Select Install Guest Additions and then click Mount CD/DVD-ROM, and select the VBoxGuestAddtions.iso
|
|
|
|
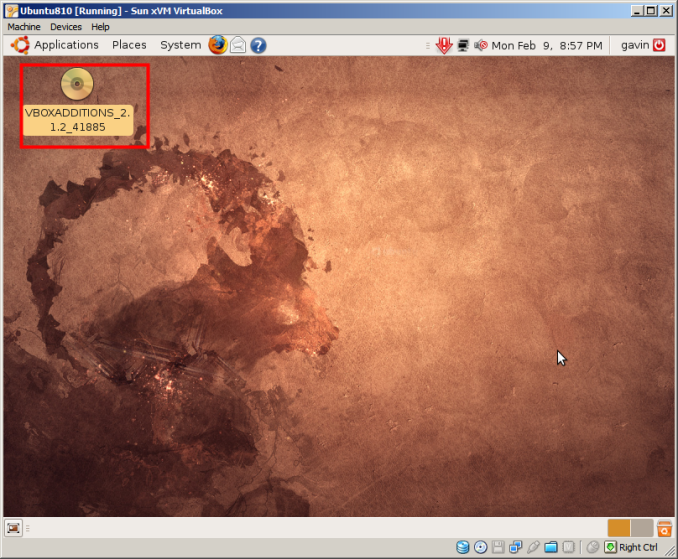
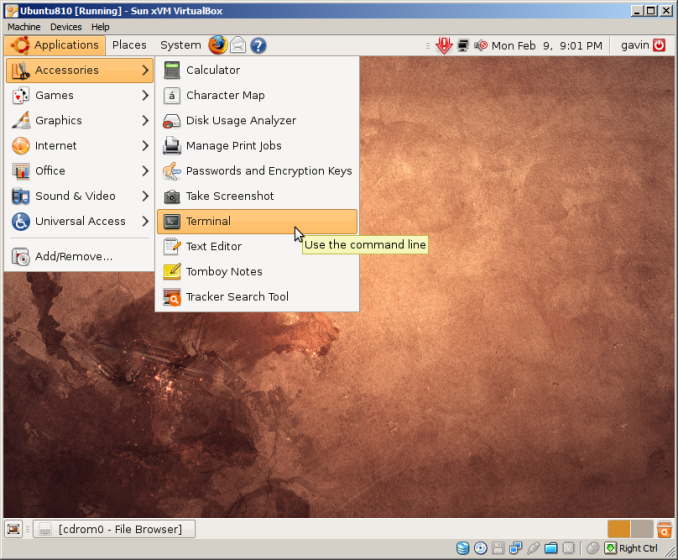
4.2 If the VBoxGuestAddtions.iso file is successfully installed, it is automatically mounted on the desktop in Ubuntu. Now start a terminal from the Application Menu->Accessories->Terminal
|
|
4.3 In the terminal type the following command: cd /media/cdrom sudo ./VBoxLinuxAddtions-86.run
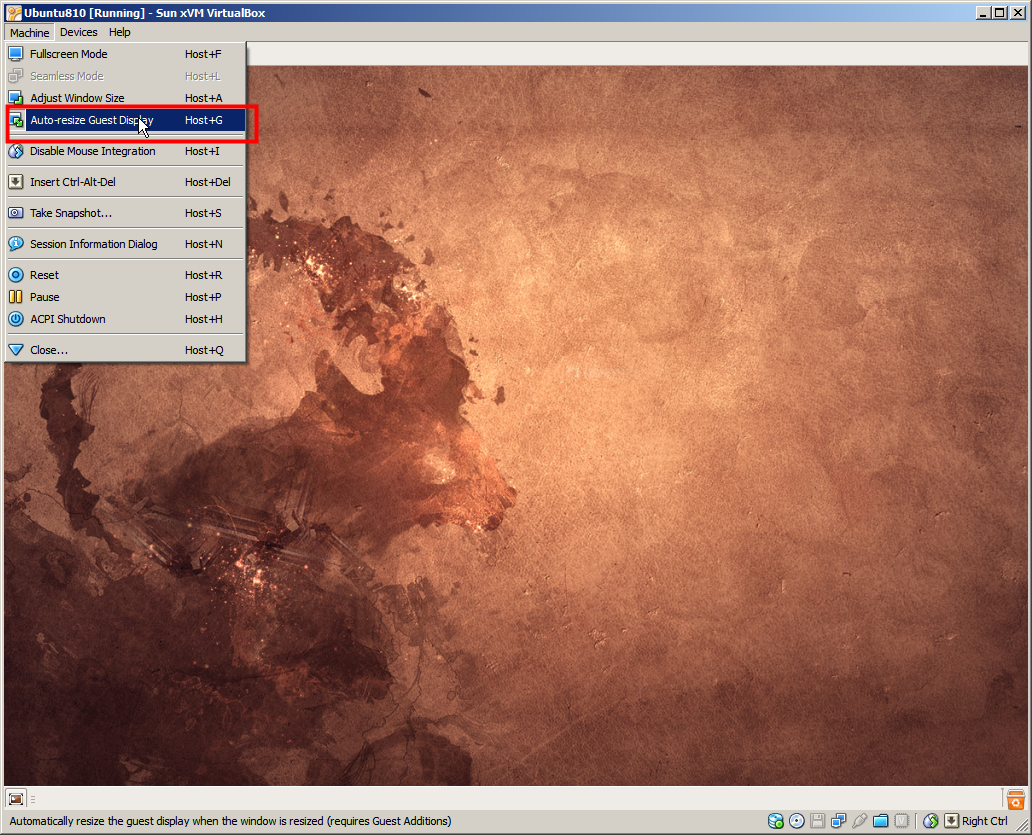
You may need to run ./VBoxLinuxAddtions-amd64.run based on your system. The system has to be restarted, then you choose from the Auto-Resize Guest Display, your resolution should be correctly set.
|
Stpe5: Install software package through Synaptic Package Manager
|
|
|
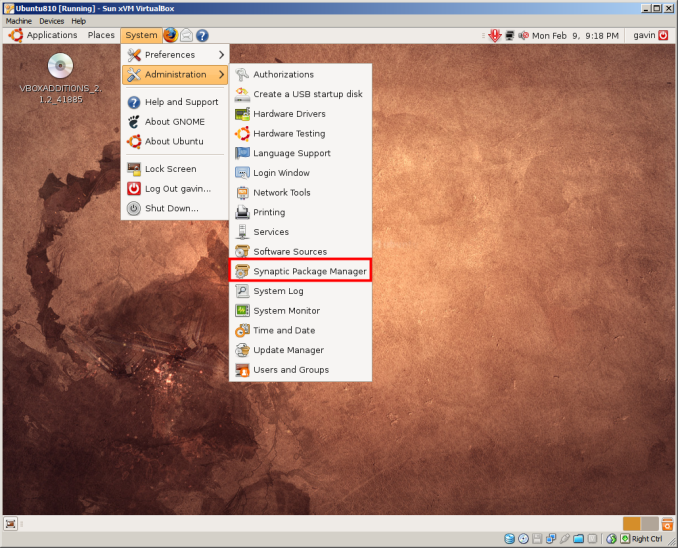
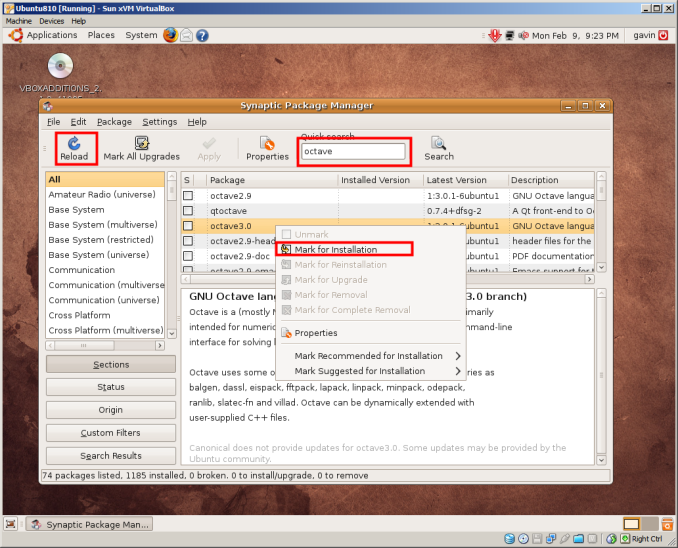
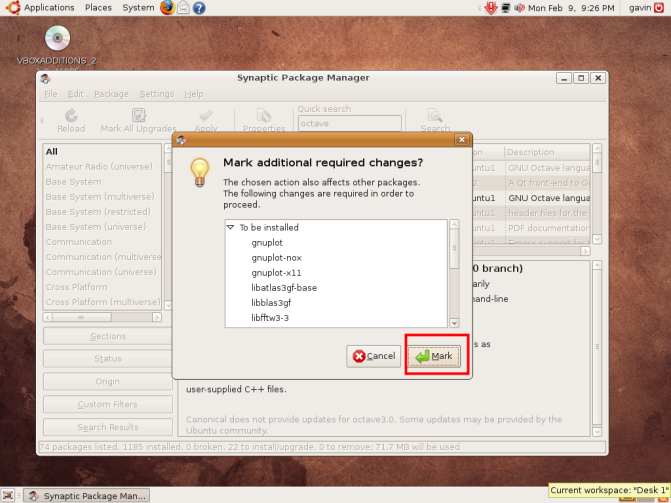
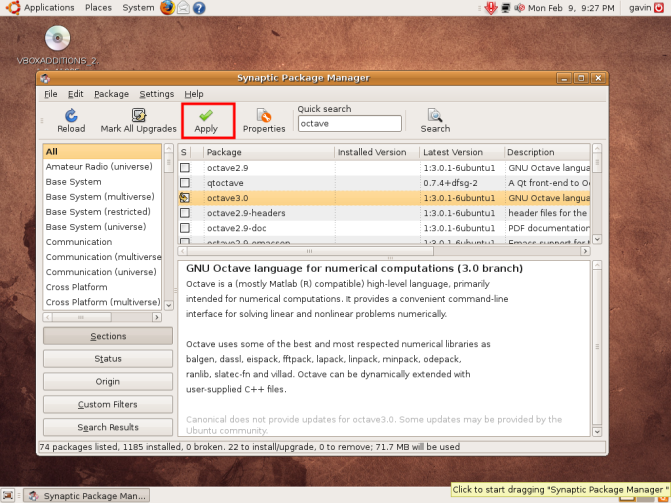
5.1 System->Administrator->Synaptic Package Manager from the system menu in Ubuntu. After the manager is loaded, Click Reload to refresh the package, then type Octave, right click Mark for installation.
|
|
|
|
5.2 Then you will be asked to confirm the mark, and then select Apply it will start install the software |